
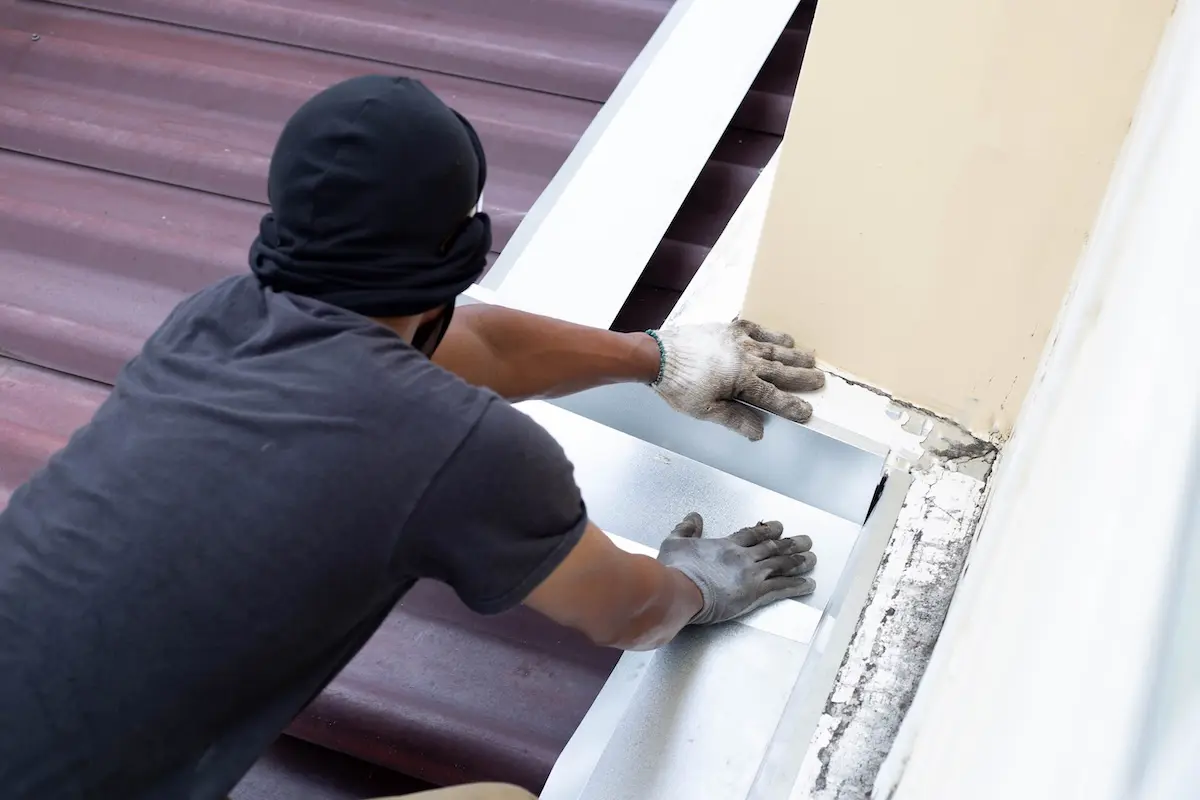
At a glance: How to spot roof flashing damage
- Look for visible damage: Rust streaks, bent or lifted metal, missing sections, cracked sealant, and ceiling stains near roof transitions can indicate flashing failure.
- Check common problem areas: Inspect chimney bases, dormers and sidewalls, roof valleys, and drip edges from the ground or a safely positioned ladder.
- Check after severe weather: Kansas City’s hail, high winds, ice, and freeze-thaw cycles can loosen or damage flashing, so look for changes after major storms.
Your roof flashing seals vulnerable areas where your roof meets chimneys, walls, valleys, vents, and edges. When this metal becomes loose, corroded, or damaged, water gets beneath the roofing materials and causes leaks.
Balmer Roofing & Solar brings more than 40 years of combined roofing experience to homeowners throughout Kansas City and the surrounding metro. This guide explains where roof flashing damage develops, what causes it, and what to do when you find it.
Table of Contents
What Is Roof Flashing and Why Does Damage Matter?
Roof flashing is the thin metal installed where your roof meets a wall, chimney, vent, skylight, valley, or edge. It directs water away from joints that shingles alone cannot seal. Even a small gap can let moisture reach the roof deck, insulation, and ceilings.
Common flashing locations include:
- Chimneys
- Dormers and sidewalls
- Roof valleys
- Vents and skylights
- Eaves and roof edges
Types of Roof Flashing on a Kansas City Home
- Chimney flashing: Base and counter-flashing seal the area where the chimney meets the roof.
- Step flashing: Overlapping L-shaped pieces protect joints along walls and dormers.
- Valley flashing: Channels water through the area where two roof slopes meet.
- Drip edge flashing: Directs water away from roof edges and into the gutters.
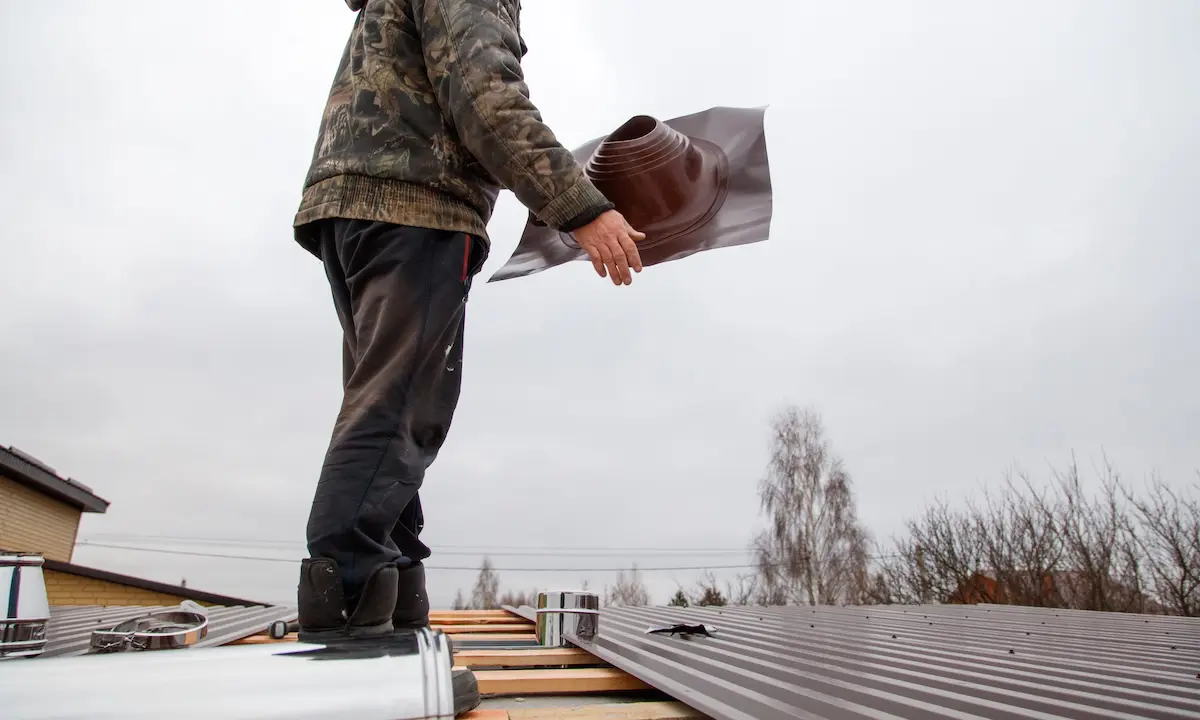
- Vent pipe flashing: Seals the roof around plumbing vent pipes.
- Skylight flashing: Seals the perimeter where a skylight meets the roof.
What Is Metal Roof Flashing Made Of?
Metal roof flashing is commonly made from galvanized steel, aluminum, or copper. Steel is affordable but can rust as it ages, aluminum resists rust but may corrode in certain conditions, and copper typically lasts the longest but costs more. Kansas City’s moisture and freeze-thaw cycles also contribute to wear over time.
What Causes Roof Flashing Damage in Kansas City?
Roof flashing can fail from age, severe weather, or poor installation. In Kansas City, spring storms and winter freeze-thaw cycles put additional stress on flashing.
1. Ice Dams and Freeze-Thaw Cycles
2. Wind and Storm Damage
Strong winds can lift or bend flashing around chimneys, valleys, and roof edges. Signs of roof flashing wind damage include loose or missing metal, exposed gaps, and dents after hailstorms.
3. Corrosion, Sealant Failure, and Age
Where to Look: A Location-by-Location Inspection Guide
Chimney Flashing
Step Flashing Along Dormers and Sidewalls
Drip Edge and Valley Flashing
What Happens If You Ignore Roof Flashing Damage?
A small roof flashing damage leak can spread beneath the shingles before you notice water inside your home. Delaying roof repair can lead to:
- Wet insulation: Saturated insulation loses effectiveness and requires replacement.
- Roof deck rot: Ongoing moisture weakens plywood or OSB decking and increase repair costs.
- Mold growth: Damp drywall and other materials support mold growth when moisture is not addressed.
- Interior damage: Water travels into walls, ceilings, and framing below the original leak.
- Insurance complications: Insurance may not cover damage caused by ongoing wear or neglected maintenance. Prompt documentation can also help streamline the roof insurance claims process.
Catching damaged flashing early limits how far moisture spreads. Balmer Roofing & Solar inspects the affected area to determine whether you need flashing repair or more extensive roof work.
What to Do After You Find Roof Flashing Damage
If you spot signs of damage, avoid climbing onto the roof or attempting a permanent roof flashing repair yourself.
Take these steps instead:
Step 1: Document the Damage
Step 2: Check the Attic After Rain
Step 3: Schedule a Professional Inspection
If you need extensive residential roof work, qualified projects may include up to a 50-year product and labor warranty, $500 cash back with a new roof, and 12-month financing.